

Load Your Data
Load your first tables into Keboola Storage by uploading CSV files with the CSV Import connector, then check the result in Storage.
Nothing in Keboola happens until there is data in Storage. This step puts four tables there by uploading CSV files by hand — the fastest way to get something real to work with. Step 2 of the Getting Started arc.
What you need
Section titled “What you need”- A Keboola project you can sign in to. If you do not have one, start with Get a Project.
- The four sample files below, downloaded to your computer.
The sample data
Section titled “The sample data”Four small tables describing a sales pipeline: opportunities, the accounts they belong to, the users who own them, and each user’s seniority level.
- opportunity.csv — business opportunities
- account.csv — the accounts
- user.csv — the users
- level.csv — company levels per user
Download all four before you start. All characters in this data are fictitious, and any resemblance to real persons, living, dead, undead, unborn, or otherwise semi-existent is purely coincidental.
Two ways data gets in
Section titled “Two ways data gets in”Keboola loads data with data source connectors — components that pull from a source on demand or on a schedule. One of them, CSV Import, simply takes a file you upload.
Manual upload is the right tool when you are starting a project or proving something out. For production you move to a connector that talks to the real source: a database, an API, a cloud drive. This step uses CSV Import; the two side trips at the end of this page do the same job with a Google Sheet and a database.
Load the first table
Section titled “Load the first table”-
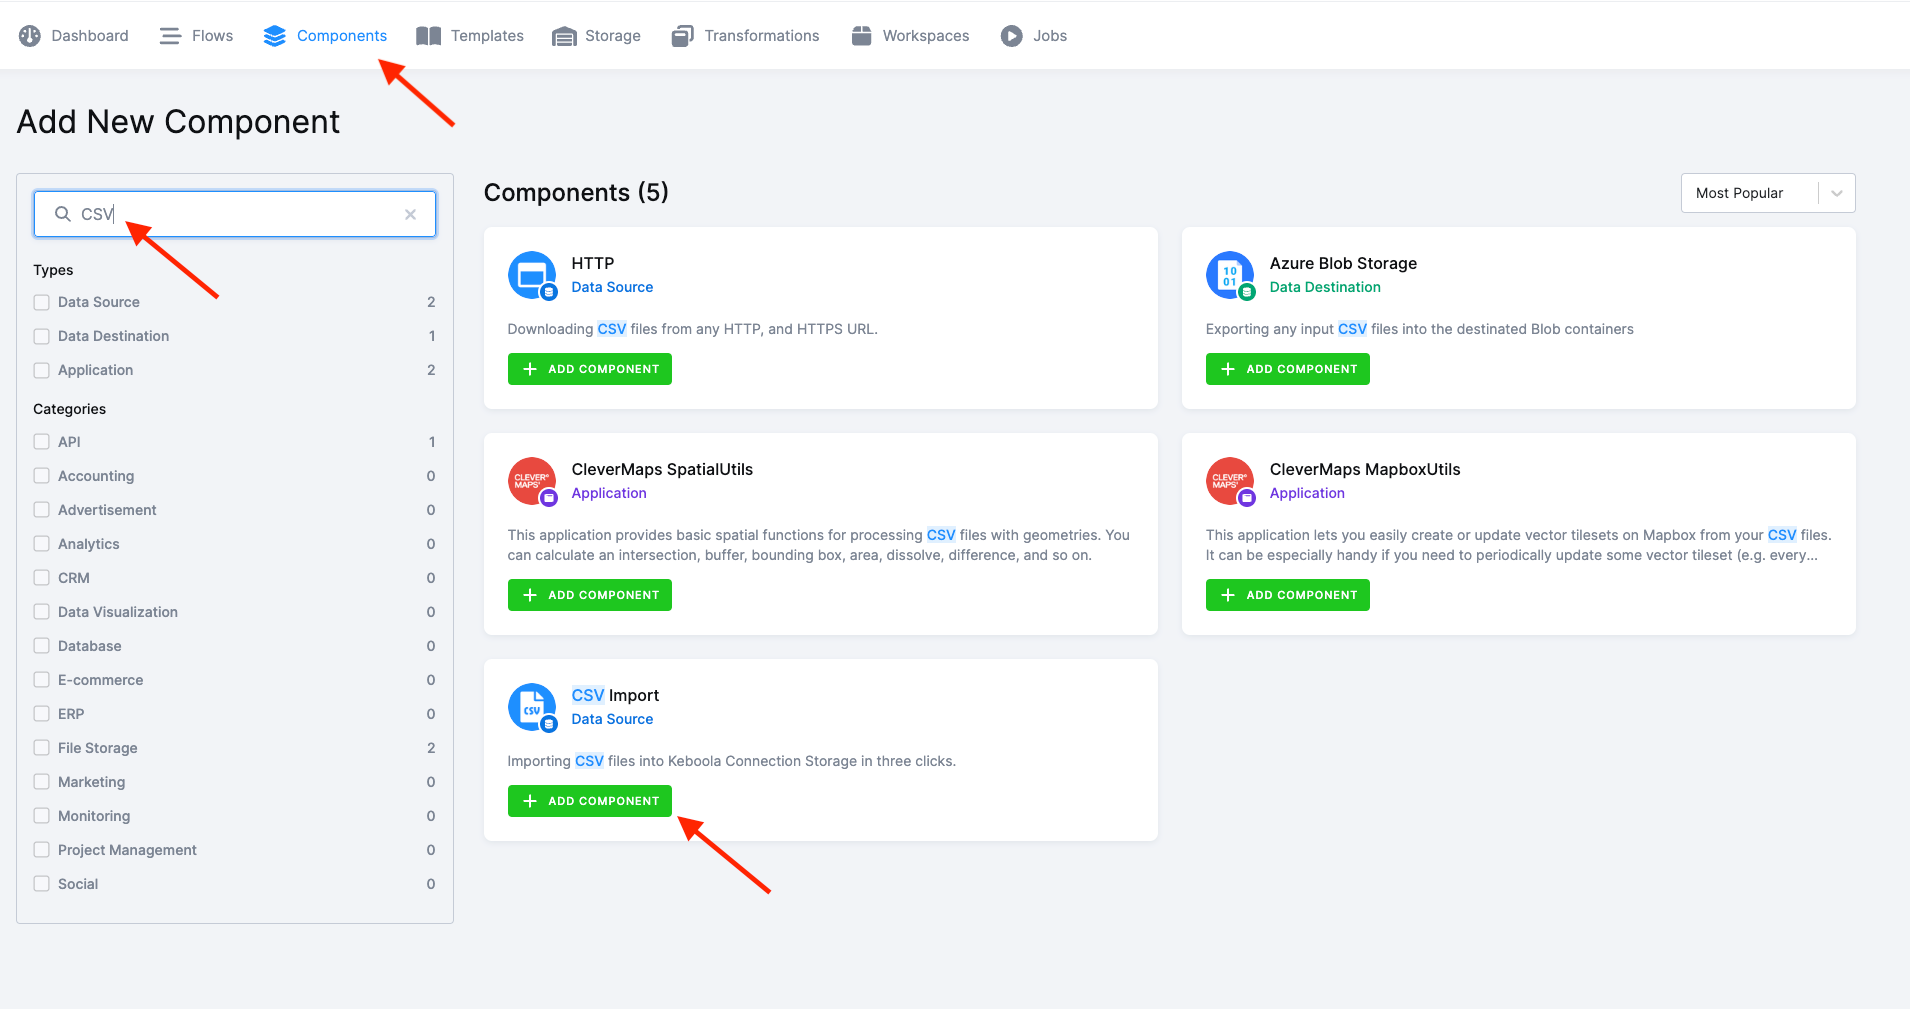
Open Components and search for CSV Import.
-
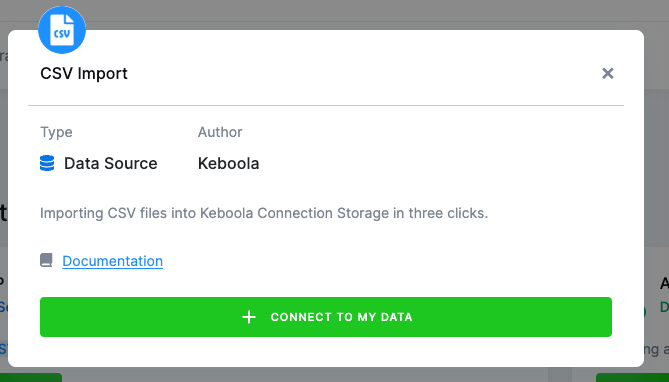
Click Add Component, then Connect To My Data.
-
Name the configuration
[TUTORIAL] Opportunity, add a description, and click Create Configuration.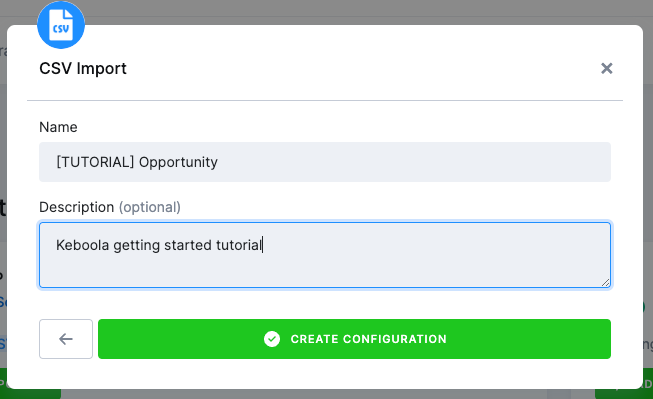
One connector can hold many configurations — you will create four here, one per file. Clear names and descriptions are what keep a project readable six months later; see the best practices cheat sheet for conventions.
-
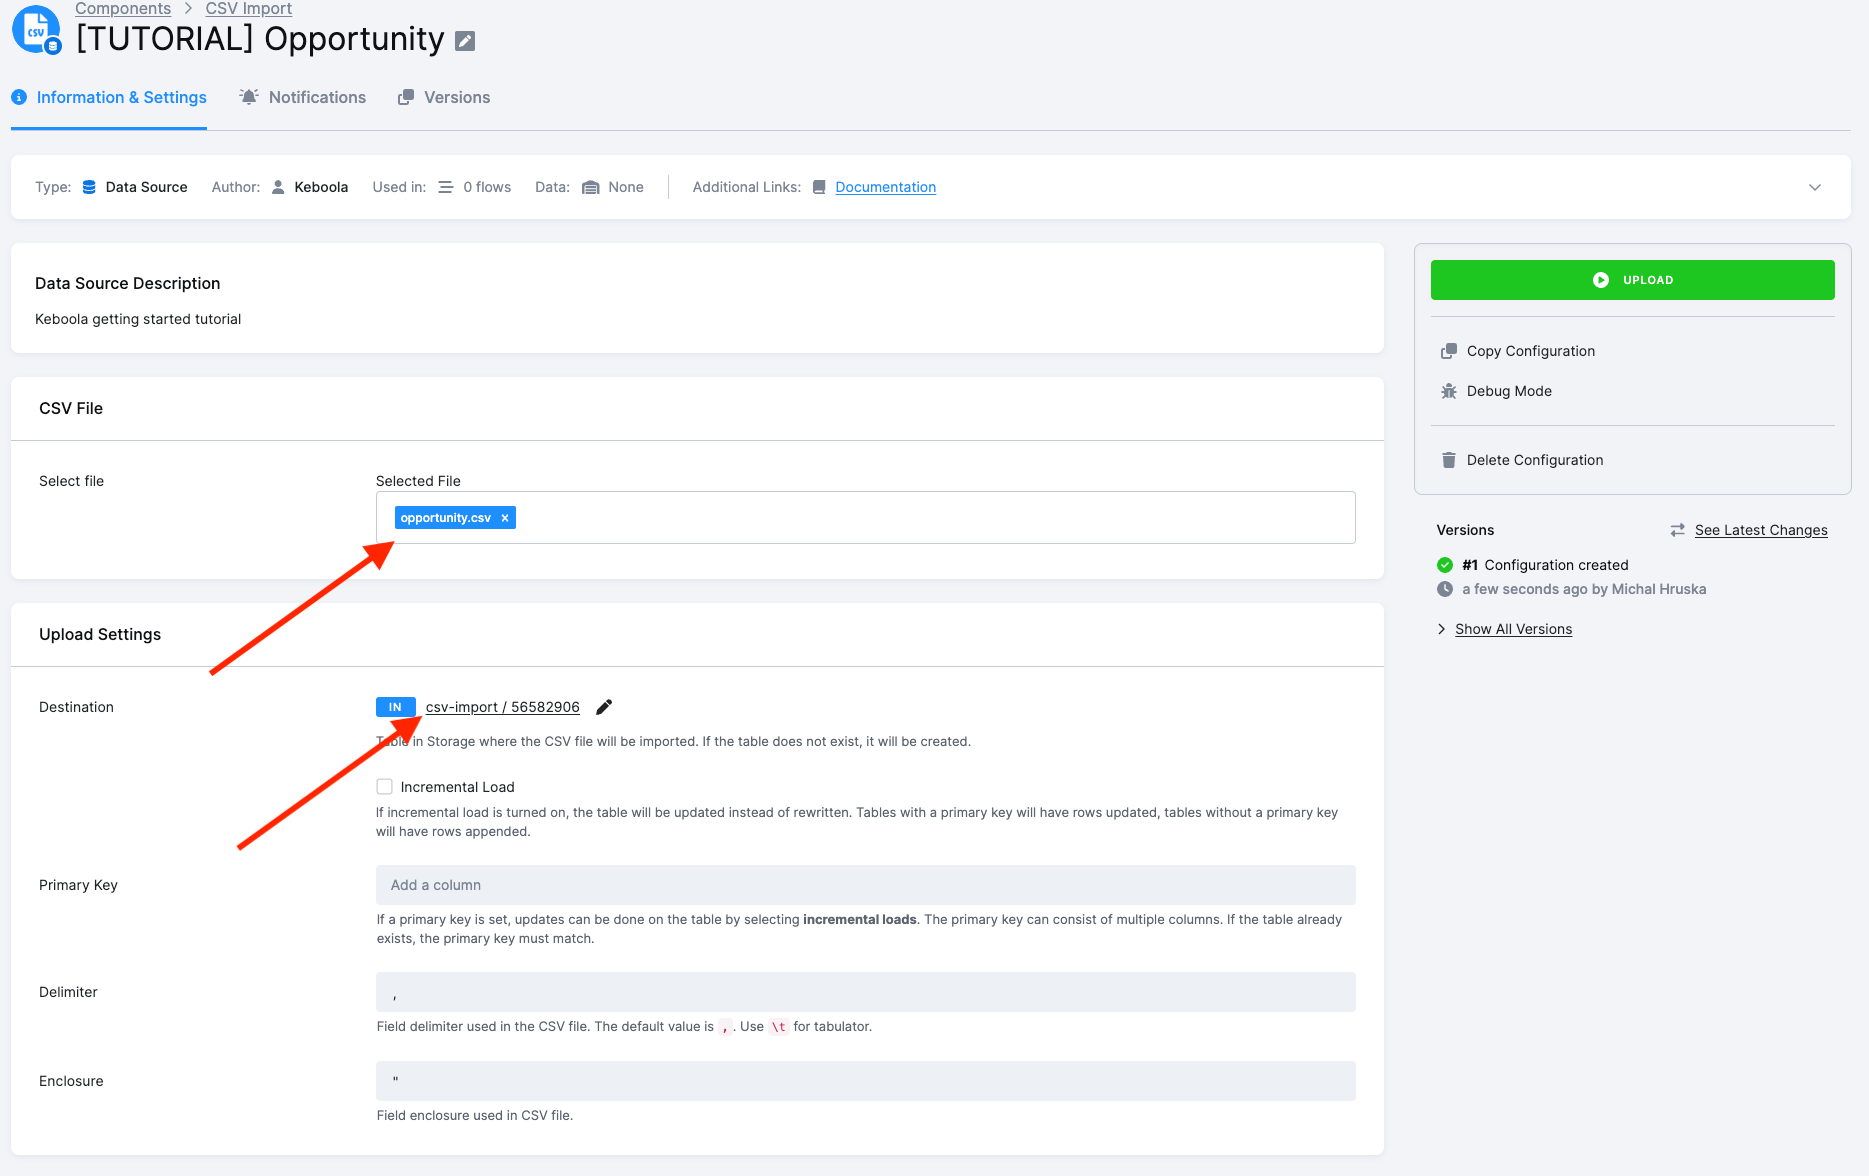
In the CSV File section, click Select file and pick the opportunity.csv you downloaded.
-
In Upload Settings, click the pen icon next to Destination. The destination is three separate controls, not one string:
Control Set it to Why Stage INdata arriving in the project Bucket csv-importalready the default Table name opportunitythe only one you need to change Click Save. Together they make the table’s full Storage ID,
in.c-csv-import.opportunity— the name the next step’s SQL refers to. (Storage adds thec-prefix to bucket names itself.)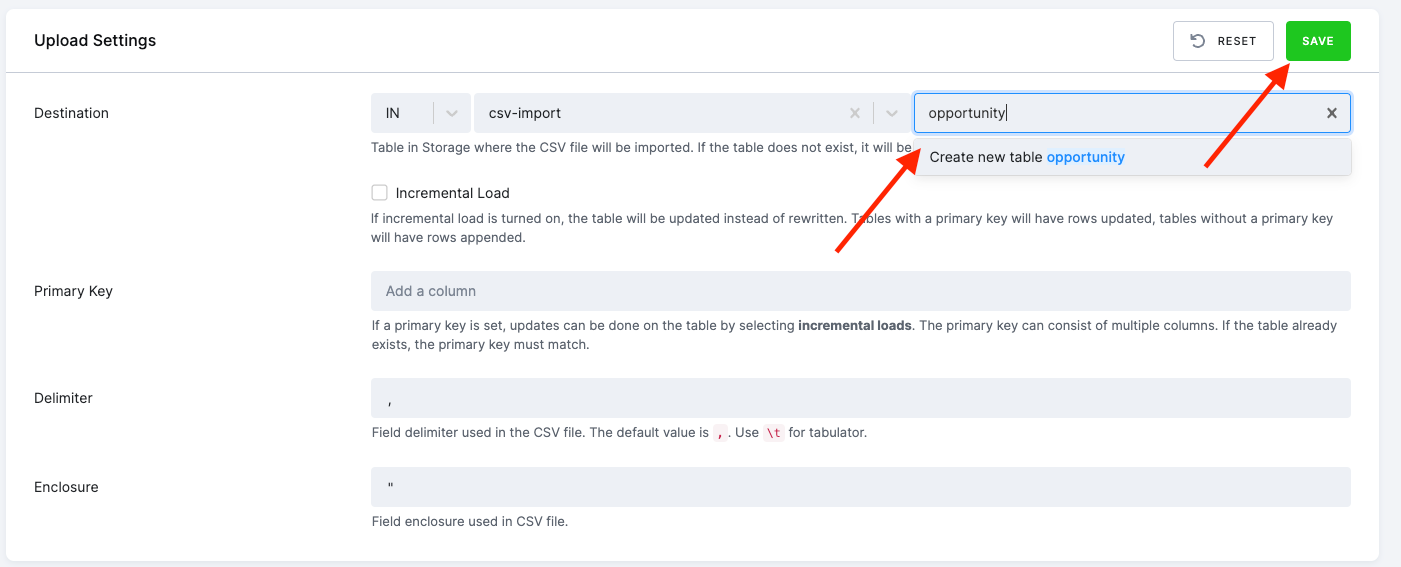
-
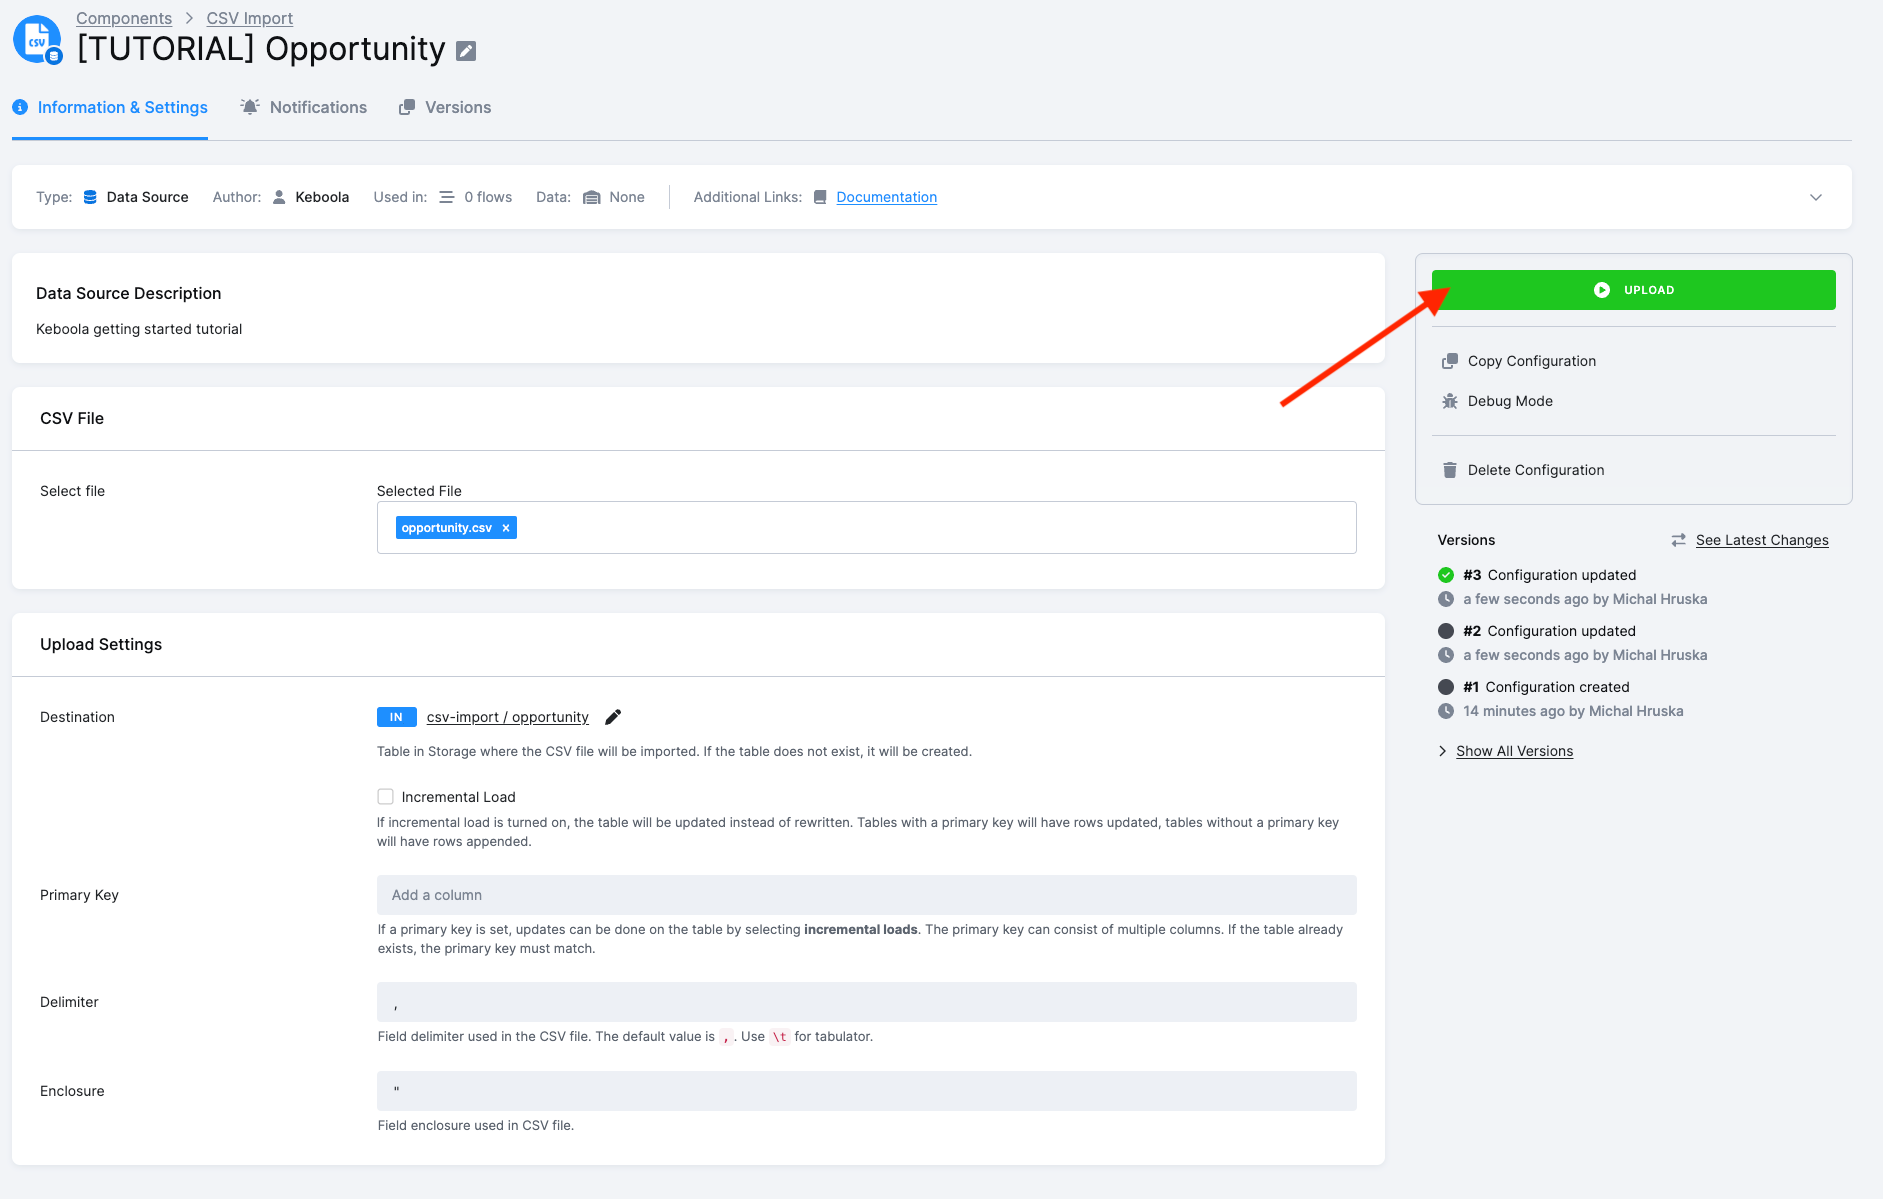
Click Upload.
Load the other three
Section titled “Load the other three”Go back to Components and repeat steps 1–6 for the remaining files, changing the configuration name and the table name each time:
| File | Configuration name | Table name | Full Storage ID |
|---|---|---|---|
account.csv | [TUTORIAL] Account | account | in.c-csv-import.account |
user.csv | [TUTORIAL] User | user | in.c-csv-import.user |
level.csv | [TUTORIAL] Level | level | in.c-csv-import.level |
The destination names matter: the transformation in the next step refers to these exact tables.
Check it worked
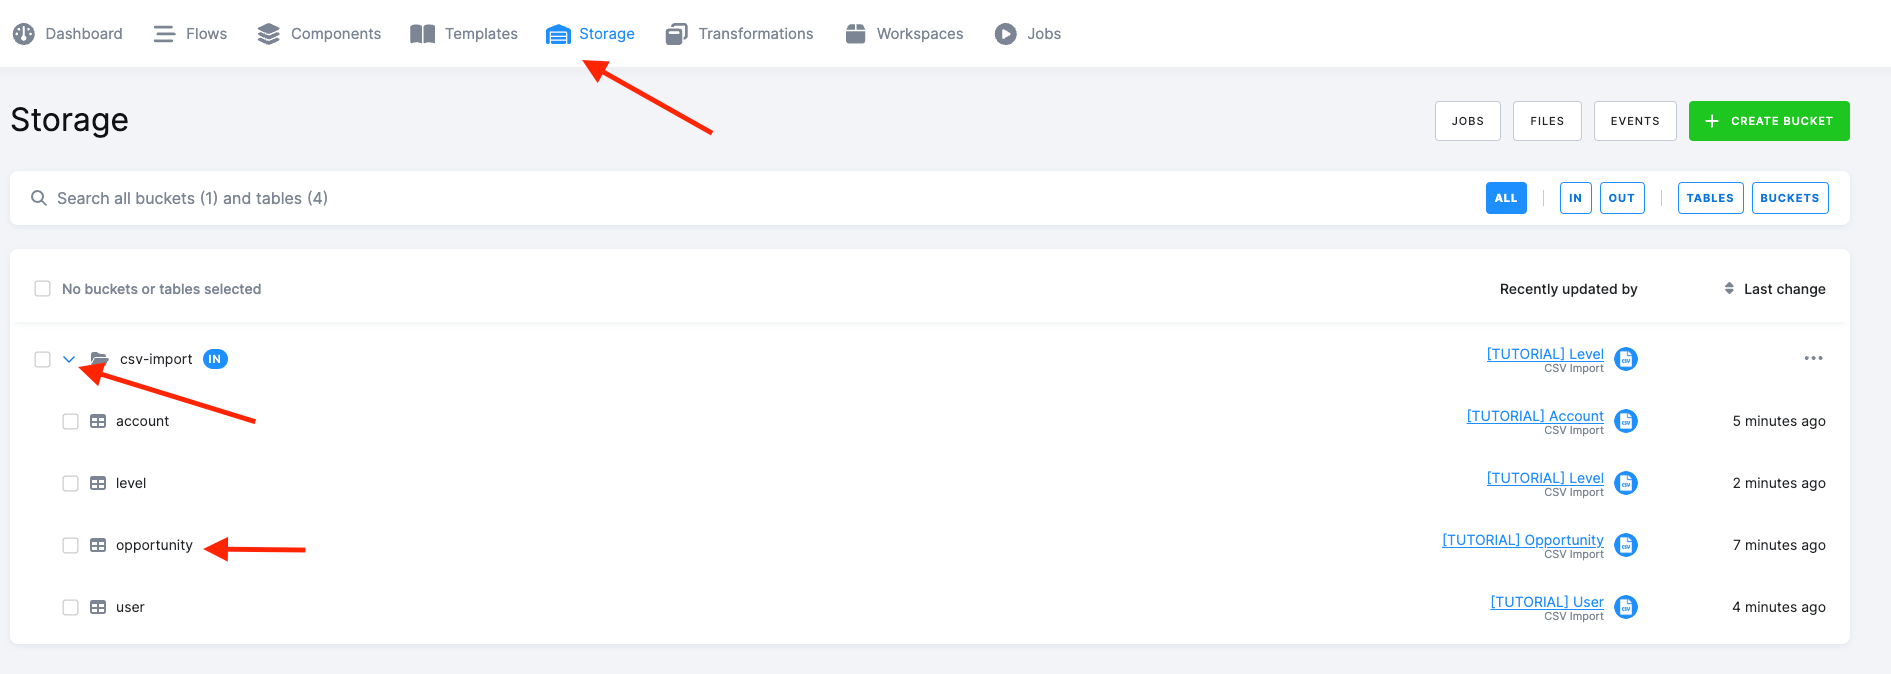
Section titled “Check it worked”Open Storage. Data is organized into buckets, and each bucket holds tables. You
should see one bucket — listed as csv-import with an IN badge, its full ID being
in.c-csv-import — containing four tables:
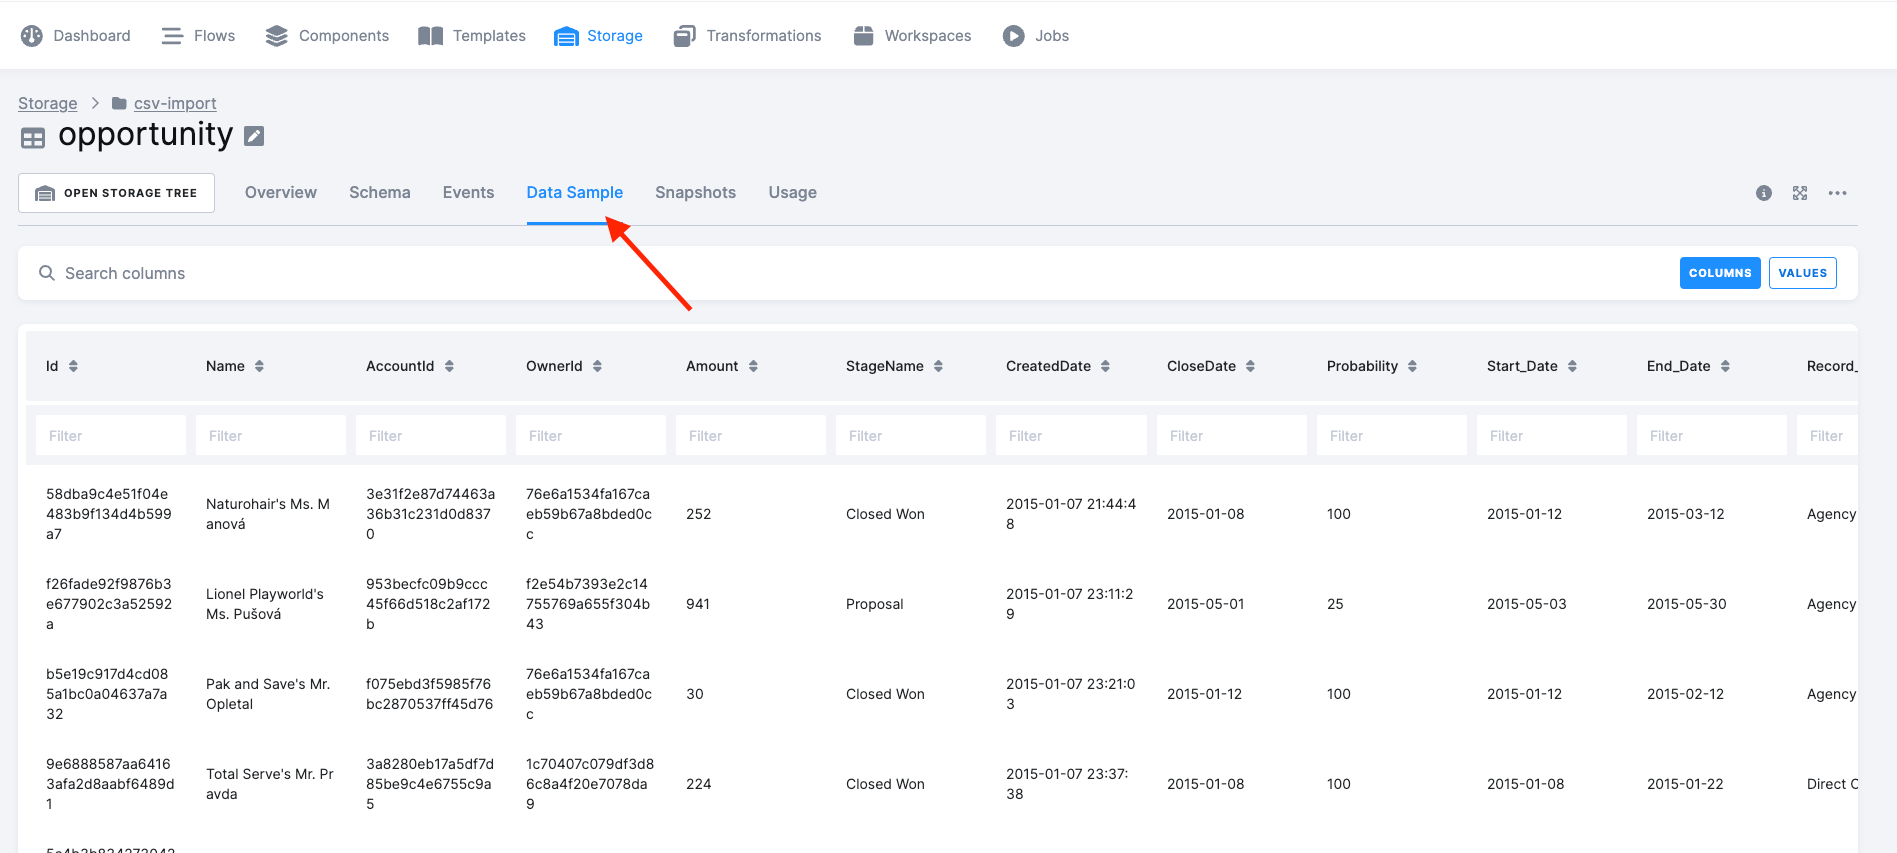
Click a table name to see its columns, row count and a Data Sample of the actual contents. If the sample looks like your CSV, this step is done.
If it goes wrong
Section titled “If it goes wrong”- The upload job fails. Open Jobs and read the job’s log — for CSV Import the usual cause is a delimiter or encoding mismatch. The files above are comma-separated UTF-8.
- The table lands somewhere unexpected. The destination was left at its default. Edit the configuration’s Upload Settings, fix the destination, and upload again; the wrongly named table can be deleted in Storage.
- Every row arrives as a single column. The file was saved with semicolons by a spreadsheet app. Re-download the original, or set the delimiter in the configuration.
- Nothing happens when you click Upload. The file selection did not stick — reselect the file, save the configuration, then upload.
Going further
Section titled “Going further”- Load from Google Sheets — the same data pulled from a spreadsheet automatically instead of uploaded by hand.
- Load from a database — the pattern every database connector follows.
Next: Transform your data →